Guide to GameVox
Setting Up the GameVox ServerIntroduction
GameVox is a simple voice communication program VoIP, which allows real time communication. It allows gamers to chat instantly with each other while gaming. This brings grouping up to a whole new level and allow us to communicate quicker.
In this guide we will show you how to get GameVox Client, set up and connect to the server. up and connecting to a server.
Step 1
Step 2
Launch the GameVox-Install.exe file that you downloaded.
Step 3
Read through the Terms of Service Agreement and select the check box to confirm that you agree.

Step 4
If you wish to change where GameVox will install to (default is C:\Program Files(x86)\GameVox) you can do so by clicking the Options button on the Service Agreement dialog. (However this is not recommended and will require you to run GameVox as administrator for push-to-talk to function correctly)
Step 5
Click the “Install” button to install GameVox
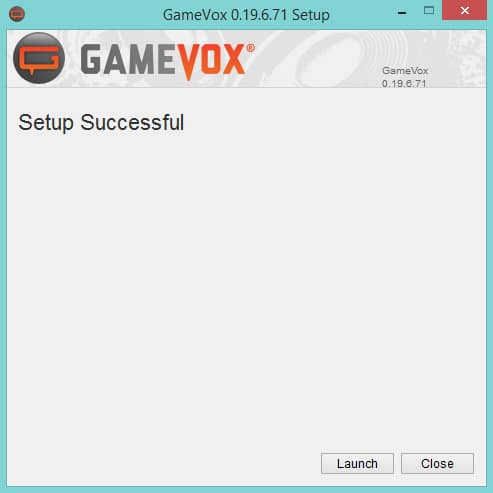
Step 6
Once the install is complete, you can then use the “Launch” button to start GameVox.
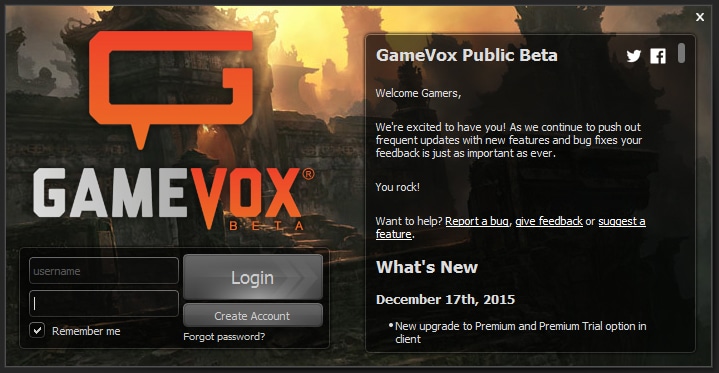
Step 7
Click on “Create Account” Button
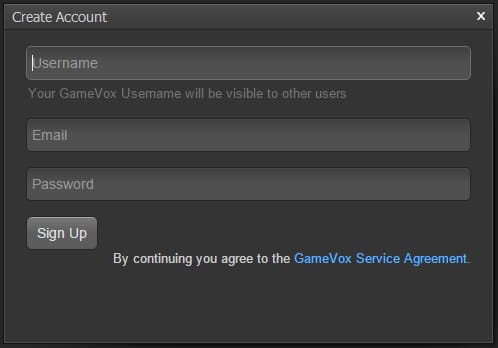
Step 8
If possible, please use your ESO Account name as a Username. It will help us know who you are.
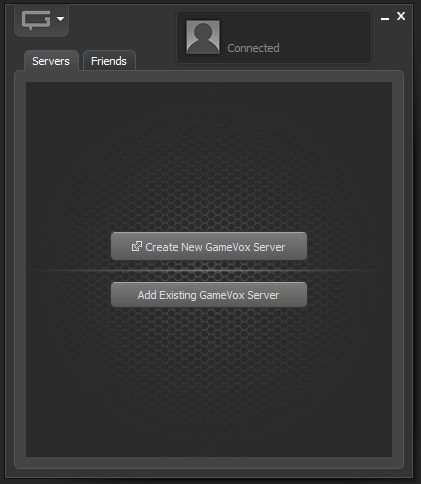
Step 9
After you log in to GameVox please click on “Add Existing GameVox Server”
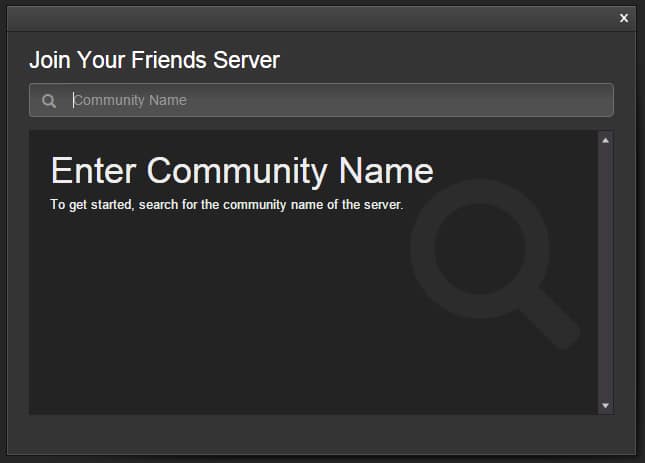
Step 10
In the search box, please type in the name of our server which is Savage Hearts.
Step 11
Click on our logo.

Step 12
Welcome to our server.
