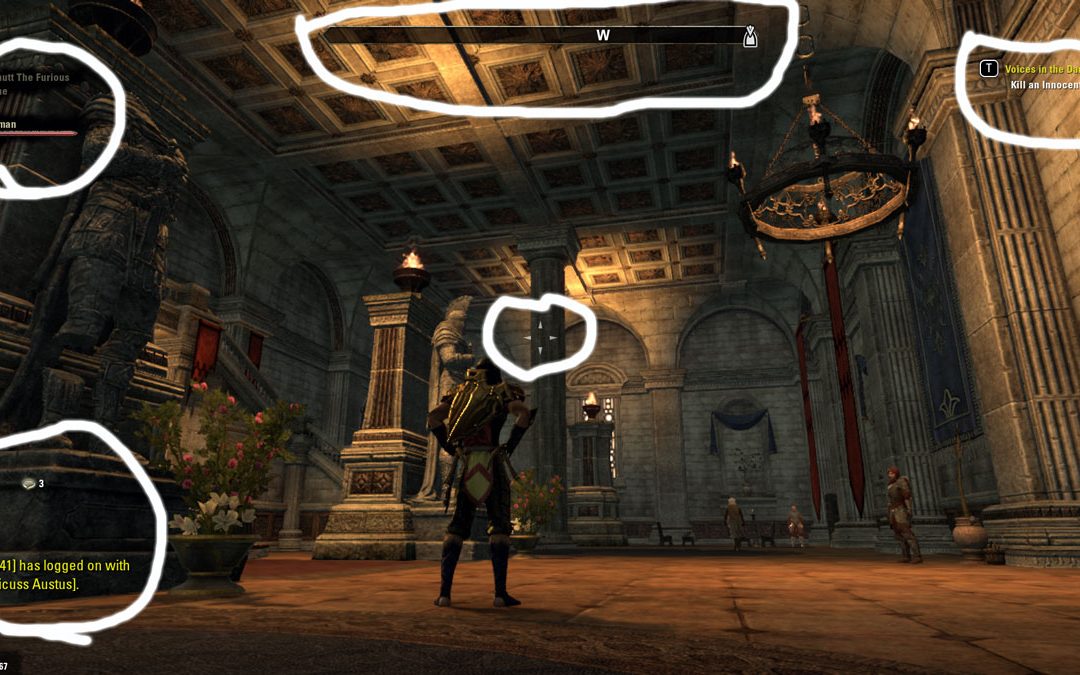
ESO is a truly beautiful game and you can really get into the wonderful scenery, the sunsets, the babbling brooks, the rugged mountains and sweeping plains. That is of course when you are not killing and crushing your way across Tamriel. On the days when going outside is not an option because of the weather you can escape into an amazing fantasy world that is almost as good as actually being there. However, half the fun is being able to share what you have seen with your friends. The Savage Hearts web site allows you to upload at least fifty shots a day. The question is,”How do I take a shot of my Windows PC Screen and put it online for all to see?”
That is the aim of this article, to provide a step by step guide to taking Screen Shots from your PC and uploading them so that we all can share in the glory of the game.
Taking a Screen Shot

Press the “Print Screen” (Prt Sc) key on your keyboard and the windows key at the same time.
This will capture an image of your entire screen. The dimensions of the image will be the same as that of your desktop resolution which is about 96 dots per inch. This is the average resolution and that is good enough for what we are trying to achieve. Because of the limitations of the human eye any higher resolution is just a waste of processing time and energy. It is an automatic process so you won’t have to worry about it anyway.
The Print screen button in your system can be labelled either as “PrtScn”, “Prnt Scrn” or “Print Scr”.
On most desktop keyboards, the button is usually found between F12 and Scroll Lock. On laptop keyboards, you may have to press the Fn or “Function” key to access “Print Screen”.
Note: You will not receive any confirmation that the screenshot has been taken, but you might see your screen freeze for a fraction of a second.
When you press the Windows key + Prt Sc, you will save a full-screen screenshot directly to a file without having to paste it into another program first. The file is saved to the Screenshots folder in your Pictures folder. If the Screenshots folder does not exist, Windows will create it for you. The picture is saved in PNG format (Portable Network Graphics). Which is the Windows standard recommended for screenshots, due to the high quality and small file size.
The picture will be automatically labelled “Screenshot”, and a number will appear in parentheses for each consecutive screenshot.
Taking a shot of your game is that easy. Windows key + Print Scrn and boom, it is done.
Editing a Screen Shot


Now editing your shot will be handled later, but “Windows Paint “ has all the tools you will need.
I want to tell you about two little tricks to make your shots look brilliant.
Once you have set up your shot with the right angle and background, press the F1 key. This will remove all the user interface writing on the screen and therefore give your shot a more real life effect. You can fine tune your shot by moving your mouse around to get just the right angle.
The second trick is to get your character, that is if you have one in your shot to face the camera. All you do is press “I” and this will give you a perfectly lined up photo. Caution the mouse pointer will appear so be sure you tuck it out of the shot before taking your photograph.
Once you have taken the shot you simply press “ I” again and F1 to get your writing back and return your screen to normal playing mode.
Note: These two controls may be different on your machine if you have re-configured your keyboard away from the default settings.
My Next article will cover editing your screen shots and uploading them to the Savage Hearts Web site. Until then, Happy Snapping guys and I hope to see you in Tamriel.

Wow what a brilliant article. That writer is awesome, even if I say so myself. lol